Help & User Guide
Welcome to AI Room Styles. This guide walks you through everything you need to transform any room photo into a stunning interior design with AI — in seconds.
Sign in or Register
Tap the user icon in the top-right corner, then create a free account or sign in with Google.
Choose Your Mode
On the main interface you'll see two mode buttons: Fast and Advanced . Pick the one that suits your needs.
Add a Room Photo
Use the camera button to take a live photo, or the gallery button to upload one from your device.
Run the AI
Press "Transform with AI" and wait a few seconds for your new design to appear.
Designed for mobile-first use. A few taps and you get beautiful AI-rendered designs in seconds — no configuration needed.
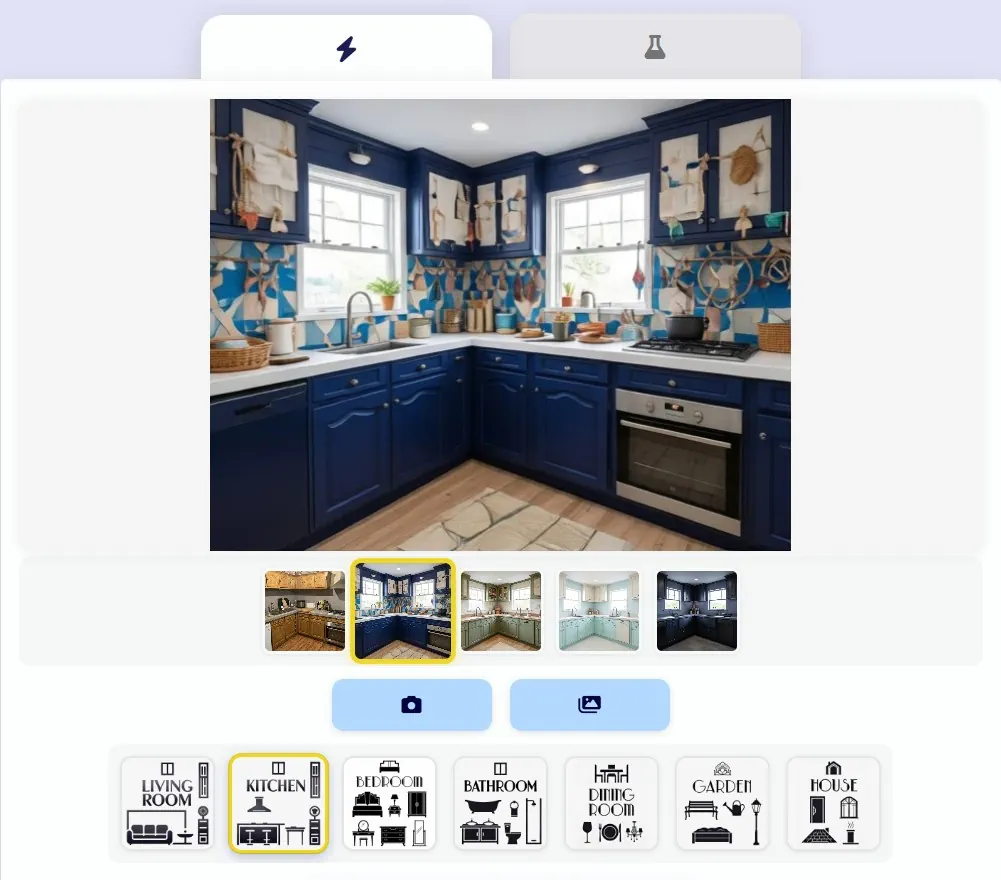
Upload a Room Photo
Take a photo with the camera button or choose an existing image from your gallery using the buttons at the bottom of the screen.
Select Room Type
Tap the room type that matches your photo (living room, kitchen, bedroom, bathroom, etc.).
Tap "Transform"
Hit the magic wand button and the AI will generate a redesigned version of your room in a few seconds.
Browse Results
Swipe through the thumbnail gallery to review up to 5 of your latest designs and tap any to view it full-size.
Advanced mode gives you precise control over architectural style, materials, lighting, budget, and more. Ideal for designers and detail-oriented users.
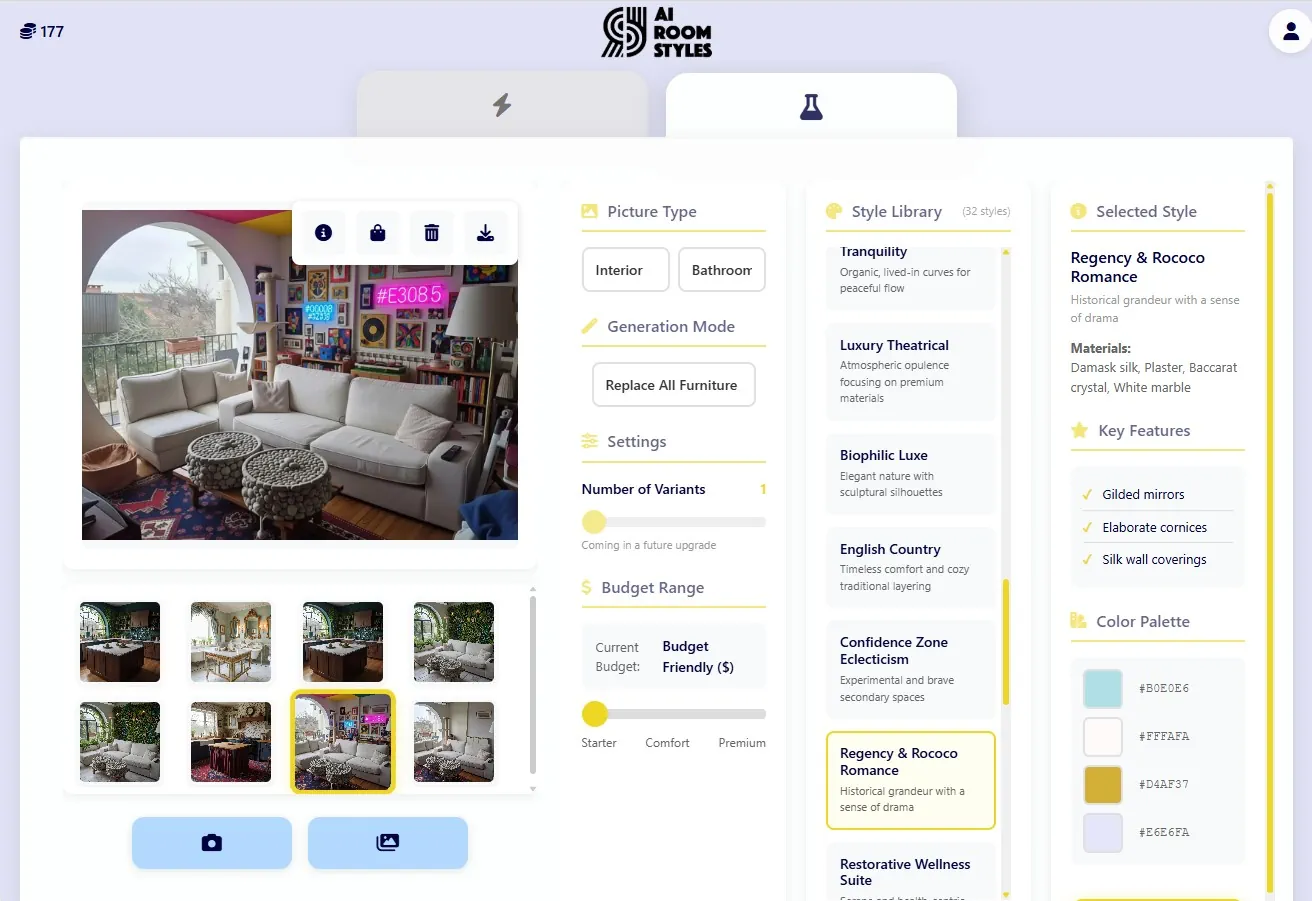
Picture Type & Room
Choose whether your photo is an interior or exterior, then select the specific room type from the dropdown.
Architectural Style
Pick from dozens of styles: Modern, Classic, Bohemian, Industrial, Scandinavian, and many more.
Materials & Colors
Fine-tune the floor, wall, and ceiling materials along with your preferred color palette.
Lighting & Time of Day
Select the time of day and lighting type (natural, evening, bright…) to achieve the perfect mood.
Budget & Quality
Set your budget range and rendering quality level to match your expectations and credit balance.
Custom Description (Optional)
Add a free-text prompt to guide the AI toward specific design details you have in mind.
Tap the user icon in the top-right corner of the screen to access:
Your Profile
Edit your personal information, preferences, and view your usage history.
Language
Switch between English and Arabic instantly from the same menu without reloading the app.
Sign Out
Click "Sign Out" to securely end your session.
Ready to get started?
Transform your room into a stunning design in just a few taps.
Start Designing